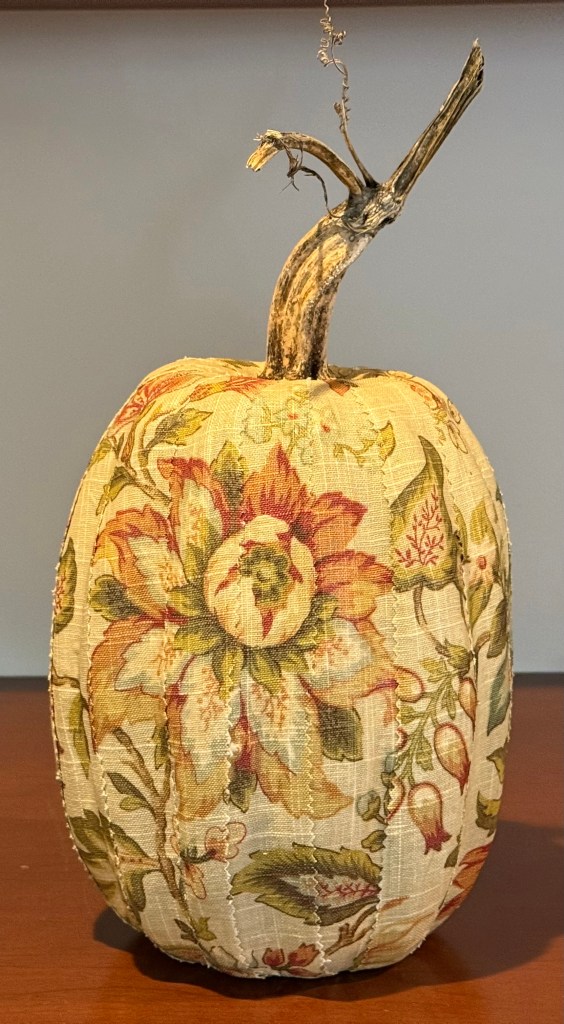
I’ve shared my pumpkin-making adventures with Scottie nearby, but this time I thought I would explain how I make the pumpkins themselves.
Part of the fun is going to the fabric store. If I see a beautiful fabric, I buy it. I might use it on a pumpkin now, or save it for an egg or bunny in the springtime.
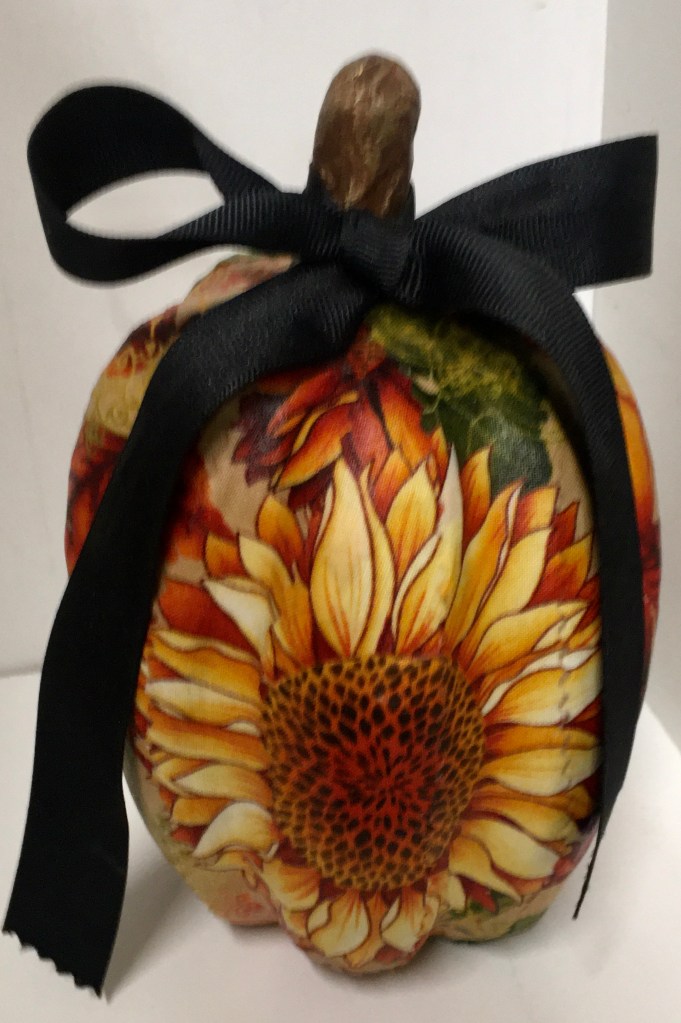
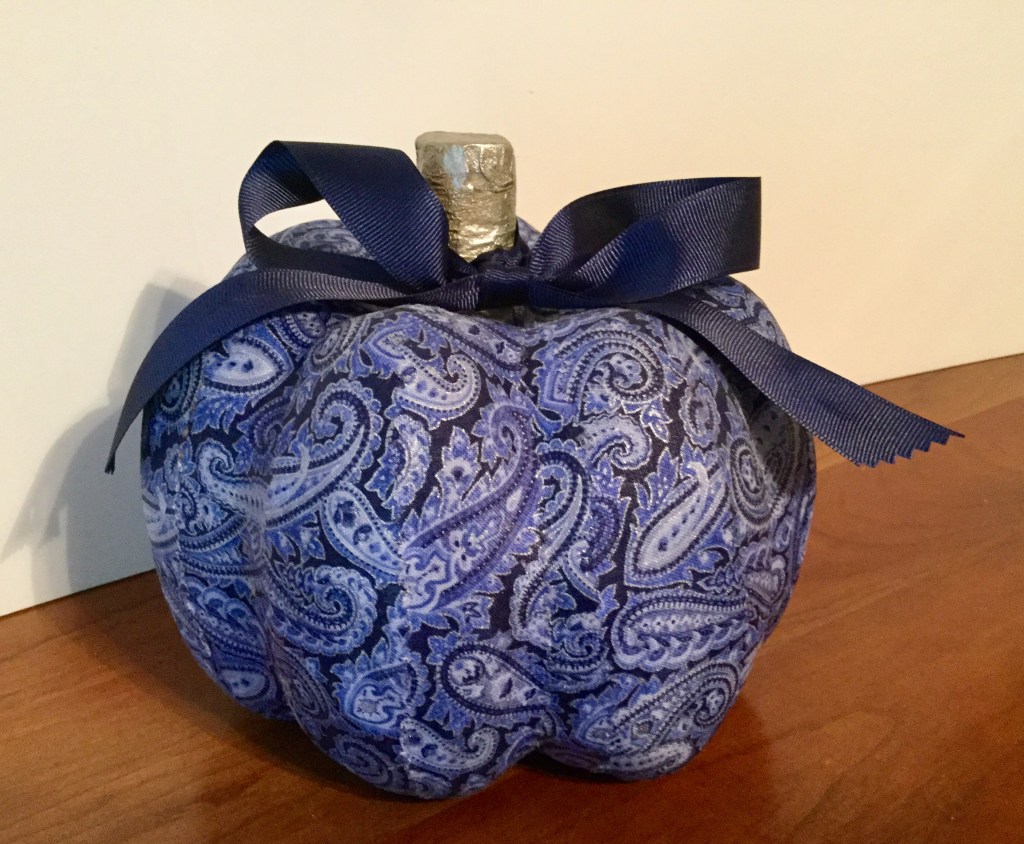
Changing the fabric gives each pumpkin a different personality. A cream floral, turquoise paisley, or bold autumn print can turn the same simple project into something quite different. I use both tall and round papier-mâché pumpkins.
What I use
- A papier-mâché pumpkin
- Fabric of your choice
- Pinking shears
- Matte Mod Podge
- A foam brush
- Metallic gold and black paint, if painting the stem
- An old, scruffy brush for dry brushing
- Ribbon or raffia, if desired
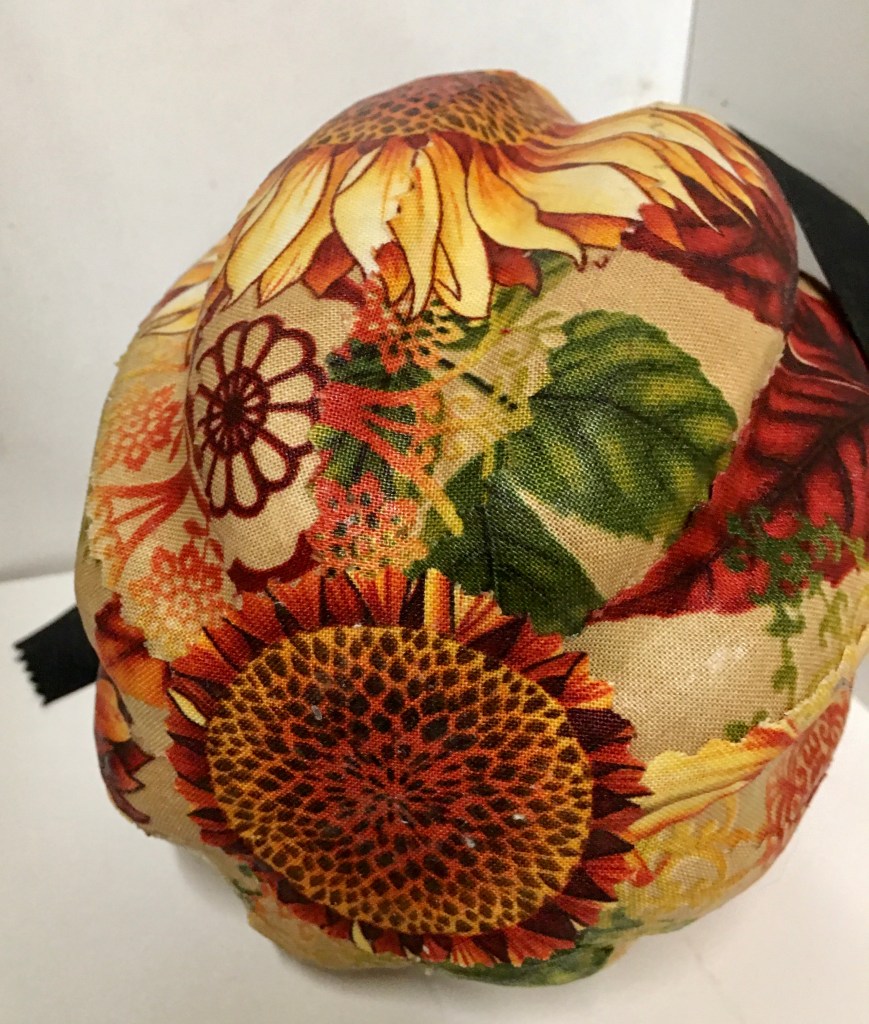
1. Cut the fabric into strips
I use pinking shears to cut fabric strips for each section of the pumpkin. I taper both ends of each strip so they blend together around the top and bottom with very little overlap.
If I’m matching a pattern, I cut one strip at a time, checking how the design lines up where the edges meet. With other patterns, I may cut a few strips ahead, but not too many. I don’t want to waste the fabric.
2. Attach and smooth each strip
Using a foam brush, I apply Mod Podge to the pumpkin first. Then I place a fabric strip over that area and smooth out any bubbles or creases with my fingers.
I overlap the edges very slightly—just enough to keep the papier-mâché pumpkin from showing through without creating bulky seams.
3. Seal the fabric as you work
Next, I brush more Mod Podge over the fabric strip. Be careful not to use too much. You want just enough to make a smooth layer.
Check that all the edges are firmly attached to the pumpkin, and smooth down any loose spots before they dry. I prefer matte Mod Podge, although it comes in a glossy finish too.
4. Give the sticky areas time to dry
The pumpkin can become quite sticky while you’re working. This is when it helps to have a second pumpkin underway. I can set one aside to dry and work on the other.
Another option is to turn the pumpkin and begin working in a different area while the first section dries. There’s no need to finish the whole thing in one sitting.
5. Finish the bottom
I cut a separate circle of fabric to cover the bottom where the ends of the strips meet. This gives the underside a finished appearance too.
Then I let the entire pumpkin dry before painting the stem.
6. Finish the stem
I usually begin with metallic gold paint. There are different shades of gold, so compare them before choosing one. Some are lighter, while others have a brassier color.
Using an old, scruffy brush and a small amount of paint, I dry brush the stem. After the gold has dried, I add a tiny amount of black to give it an aged look.
If I’m using a real stem, I may leave it unpainted.
7. Decide on the final touch
Some pumpkins get a ribbon or raffia tied around the stem. Others look finished without anything extra.
That’s part of the fun: choosing the fabric, the stem, and those final details. They don’t all have to look alike—and they certainly don’t all have to be orange.




Leave a comment